
Decky Loader Setup: How to Install It on Steam Deck
This decky loader setup guide walks Steam Deck owners through the complete installation, one step at a time. You will use the recommended desktop installer – no terminal commands, no developer mode, and no password to create in advance. An optional Konsole method is included for users who prefer the command line or get stuck with the desktop file.
By the end, you will know how to prepare your Steam Deck, run the installer, choose the right release, return to Gaming Mode, and confirm the installation worked by finding Decky in the Quick Access Menu. A short troubleshooting section at the end covers the setup problems beginners hit most often.
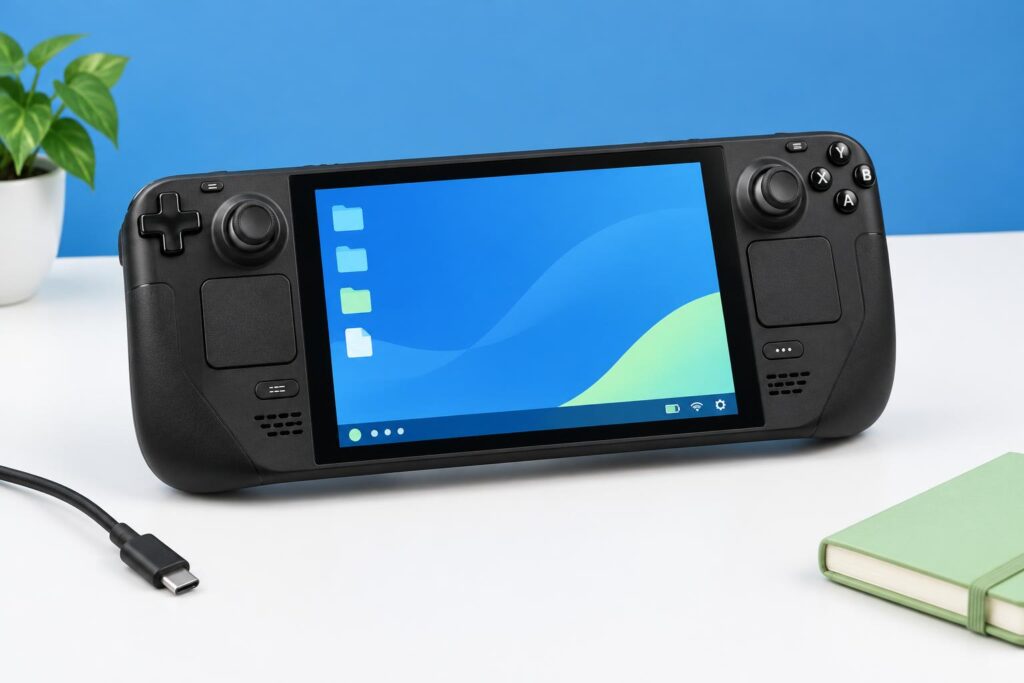
Decky Loader Setup at a Glance
The short version: switch your Steam Deck to Desktop Mode, download the official installer from decky.xyz, run it, enter your admin password (or accept the installer’s temporary one), pick Latest Release, then use the Return to Gaming Mode shortcut. If a plug icon appears in the Quick Access Menu afterward, the installation succeeded.
What You Need Before Starting
A few minutes of preparation prevents most failed installations. Connect to a reliable Wi-Fi network, plug in the charger or confirm the battery is comfortably charged, and save any open work before switching modes, because moving between Gaming Mode and Desktop Mode closes what you were doing. Nothing here is invasive: the installation does not format your device, replace SteamOS, or modify the Steam Deck hardware in any way.
What You Need Before Starting
A few minutes of preparation prevents most failed installations. Connect to a reliable Wi-Fi network, plug in the charger or confirm the battery is comfortably charged, and save any open work before switching modes, because moving between Gaming Mode and Desktop Mode closes what you were doing. Nothing here is invasive: the installation does not format your device, replace SteamOS, or modify the Steam Deck hardware in any way.
Internet, Battery and Input Requirements
You will need a stable internet connection to download the installer (and, with the Konsole method, to fetch the installation script itself). Aim for at least 30% battery, or keep the charger connected throughout – an interrupted install is the most avoidable failure of all. For input, the right trackpad works as a mouse and the touchscreen works for taps; an external mouse and keyboard are more comfortable but entirely optional. When a text field needs input in Desktop Mode, press the Steam button and X together to open the on-screen keyboard.
Do You Need an Admin or Sudo Password?
No – and this is where many older guides mislead people. You do not need to create an admin (sudo) password before starting. During setup, the installer asks for a password: if you already set one on your Steam Deck, you type it. If you never set one, the installer offers to create a temporary password for the duration of the installation and removes it automatically when setup finishes. Step 6 below walks through both cases, so there is nothing to prepare here.
How to Install Decky Loader Using the Desktop Installer
This is the recommended route for most users, and the only one beginners need. It uses a small downloadable installer file and point-and-click steps – no terminal, no commands to type. Follow the steps in order; the whole process usually takes five to ten minutes from start to finish
Step 1: Switch Your Steam Deck to Desktop Mode
Everything in this method happens on the SteamOS desktop, so start by leaving Gaming Mode:
- Press the Steam button on the left side of your Steam Deck.
- Select Power from the menu.
- Choose Switch to Desktop.
- Wait for the SteamOS desktop to load — this can take up to a minute.
Tip: Holding the physical power button for a couple of seconds opens the same Power menu, which is handy if the Steam button menu is unresponsive.
Step 2: Download the Official Installer
Open a browser in Desktop Mode (Firefox is preinstalled) and go to the Decky Loader Download . Use the download button on the site to save the installer file to your device.
Download only from the official website. Copies shared on forums, video descriptions, or file hosts can be outdated or modified. Since an installer needs system-level trust, its source genuinely matters.
Step 3: Locate the Download in Dolphin File Manager
Dolphin is the default file manager in SteamOS Desktop Mode. If your browser offered to run the file directly and nothing happened, opening it through Dolphin is the reliable route:
- Open Dolphin from the desktop taskbar or application launcher.
- Select the Downloads folder in the sidebar.
- Locate the Decky installer file you just saved.
- Check its complete filename before opening it.
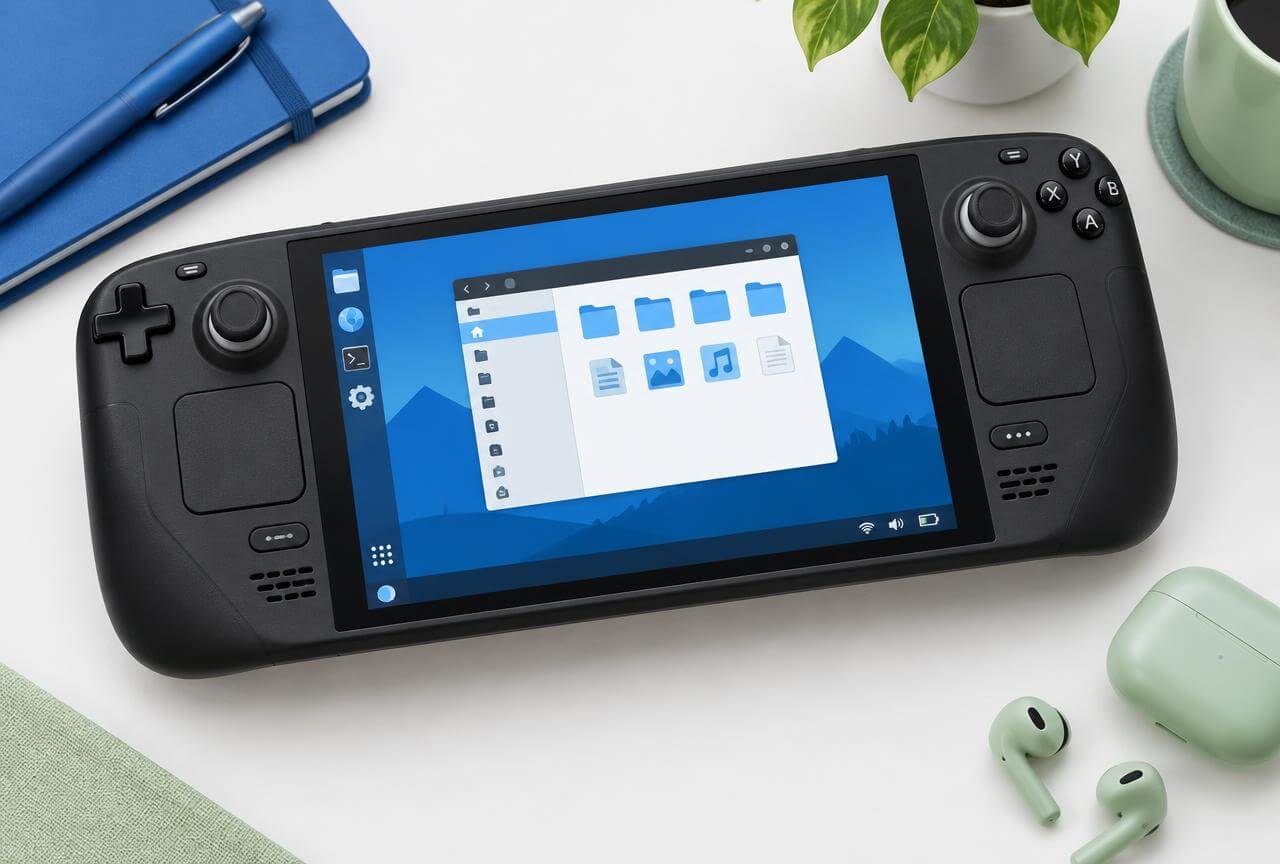
Step 4: Correct the Installer Filename if Necessary
Some browsers, Firefox included, save the installer with an extra .download ending. With that ending, SteamOS treats the file as an unfinished download instead of an installer. Compare your file against these examples:
If yours has the extra ending, right-click the file in Dolphin, select Rename, and delete only the .download part so the name ends in .desktop exactly. Do not change any other part of the filename.
Step 5: Open and Run the Installer
Double-click the corrected installer file. If SteamOS asks how you want to open it, choose Execute. A terminal-style window opens and the installer begins working — that window is a normal part of the process, not an error message.
If double-clicking from the Downloads folder does nothing, drag the file onto the desktop first and run it from there; the official site itself suggests this when a browser cannot run the file directly.
Step 6: Complete the Password Prompt
The installer pauses for a password, and there are two possible situations. If you set an admin password on your Steam Deck at some point, type it and press Enter.
If you never set one, follow the installer’s instructions for its temporary-password option. The installer may show the temporary password as Decky! and remove it automatically when setup ends.
Important: Nothing appears on screen while you type in a terminal window — no letters, dots, or asterisks. That is standard behavior, not a frozen keyboard. Type carefully and press Enter.
Step 7: Choose the Latest Release
When prompted, choose which version to install. Latest Release is the stable build intended for most users — pick this one.
Latest Prerelease contains newer changes that are still being tested and is aimed mainly at plugin developers and testers. Choose it only if you need a specific compatibility fix. For a first installation, stability matters more than newness, and you can revisit this choice later.
Step 8: Return to Gaming Mode
Once the installer reports completion, close its window and double-click the Return to Gaming Mode shortcut on the desktop. SteamOS reloads into its normal handheld interface.
Let Gaming Mode finish loading completely before checking anything. The verification steps in the next section take under a minute once it has settled.
How to Install Decky Loader Using Konsole
Prefer the command line, or stuck with the desktop file? This alternative method performs the same decky loader install with a single command. You only need one method – if the desktop installer already worked, skip this section entirely.
Konsole provides a command-line interface for running shell commands, making it useful when following the alternative installation method described in the Konsole Handbook .
When to Use the Terminal Method
Reach for Konsole when the desktop installer will not download correctly, your browser keeps adding the wrong file extension, or the installer file refuses to execute no matter where you put it. It is also a perfectly reasonable choice if you simply prefer typing a command to clicking through windows. Everyone else, especially first-time users, should use the desktop installer above; there is no benefit to the terminal route beyond preference.
Open Konsole in Desktop Mode
Konsole is the terminal application included with SteamOS – the place where you type text commands instead of clicking icons. To open it:
Enter Desktop Mode (Steam button, Power, Switch to Desktop).
Open the application launcher at the bottom-left of the desktop.
Search for Konsole.
Open the Konsole application.
Run the Official Installation Command
Copy the entire command below, paste it into Konsole (Ctrl+Shift+V is paste in most terminals), and press Enter:
$ curl -L https://github.com/SteamDeckHomebrew/decky-installer/releases/latest/download/install_release.sh | sh
The command downloads the official installation script from the project’s installer releases and runs it; from that point on, the prompts match the desktop method. Because installation commands can change over time, compare this command against the current official installation documentation before relying on it – and never run installer commands copied from random forum posts or comments.
Finish the Installation and Return to Gaming Mode
Follow the on-screen prompts: handle the password request exactly as in Step 6 (your existing password, or the installer’s temporary one) and choose Latest Release when asked which version to install. When Konsole reports a successful installation, close it and double-click the Return to Gaming Mode shortcut on the desktop. Then verify the result with the checks in the next section.
How to Confirm Decky Loader Was Installed Correctly
Downloading files is not proof of anything – an installation only counts when Decky actually appears and opens in Gaming Mode. These three checks take under a minute in total.
Open the Quick Access Menu
In Gaming Mode, press the three-dot button on the right side of the Steam Deck. This opens the Quick Access Menu, the familiar panel holding performance, battery, and settings shortcuts.
Find the Plug Icon
Look along the row of icons in the Quick Access Menu for a plug-shaped icon that was not there before you installed anything. Its presence confirms that the loader has been added to your Steam Deck’s interface – it is the single clearest sign that the installation worked.
Check That the Decky Menu Opens
Select the plug icon. The Decky menu should open without errors, showing its navigation controls and an empty plugin area. Empty is expected at this point – you have installed the loader, not any plugins yet. If the menu opens cleanly, your setup is complete; browsing and choosing plugins is a separate topic covered by our other guides. Once the installation is complete, explore our Decky Loader features and plugins guide to understand what the loader offers and which plugins can extend your Steam Deck experience.
Quick Checks When the Setup Does Not Finish
Most failed setups trace back to one of five small issues. Work through the check that matches your symptom; anything deeper – broken plugins, update problems, missing files – belongs in the dedicated troubleshooting guide, which is linked where relevant below.
The Installer File Will Not Open
Work through these in order:
Check that the filename ends in .desktop, not .download (see Step 4).
Open the file through Dolphin rather than from the browser.
Select Execute if SteamOS asks how to open the file.
Move the file to the desktop and try running it from there.
Delete it and download a fresh copy from the official website, decky.xyz.
The Download Has the Wrong File Extension
If the filename ends in .download, SteamOS treats the file as an unfinished download rather than an installer. In Dolphin, right-click the file, choose Rename, and remove only the .download ending: decky_installer.desktop.download becomes decky_installer.desktop. Do not alter any other part of the name, and do not add extensions of your own – the .desktop ending is what tells SteamOS the file is runnable.
The Password Prompt Stops the Installation
Terminal password fields are invisible by design: as you type, no characters, dots, or asterisks appear on screen. In most ‘stuck password’ cases the password was actually being entered all along – type it slowly and deliberately, then press Enter. If you never created an admin password, cancel, re-run the installer, and accept its temporary password option instead of guessing at a password that does not exist.
The Plug Icon Does Not Appear in Gaming Mode
If restarting and reinstalling do not restore the missing icon, follow our Decky Loader troubleshooting to identify common installation errors, compatibility problems, and other issues.